Spring 설치 Hellow word! 띄우기!
Spring세팅 Hellow word! 띄우기!
모든 처음배우는것은 설치와 세팅이 가장어려운것..
- JDK 설치하기

1) 기존에 JDK가 설치되어 있다면 프로그램제거 -> java검색후 제거
2) oracle접속 - java8버전 다운 - 로그인
2. 이클립스 다운
1) 접속 - 다운로드 - download Packages - older versions - 운영체제에 맞춰 Eclipse IDE for Enterprise Java and Web Developers 2020-3 부터 다운
2) 이클립스접속 - workspace경로설정 (C에 만들어야한다.*경로기억하기) - Open Perspective에 spring이 없으므로
만약 workspace경로를 바꾸고 싶다면 file - switch workspace - 경로설정
3. Web Application Server (WAS) 설치
1) 아파치 톰캣 설치
2) Core: -> zip다운 -
4. 스프링 개발툴STS(SPring Tool Suite)
1) window - eclipse marketplace - sts 입력 - install - confirm - accept - finish - 경고창이뜨면 install - restart now
2) Open Perspactive 클릭 - Spring - Open - Spring Lagcy Project 클릭 - MVC Project 생성 (C:\Users\mun\.m2\repository)에 설치가 된다. - net.daum.controller - 설치 - 생성된 프로젝트 우클릭 Maven - update - x 가 안뜨면 run - run on server - tomcat버전에 맞게 클릭 - tomcat이 설치된 경로를 추가 - 만들었던 프로젝트를 오른쪽으로 추가
3) Preferences - Web Browser - Chome선택
4) Preferences - Workspace - 맨위 박스체크 - other - utf-8
5) Preferences - XML - Symtax Coloring
6) server.xml열기 - 밑에 Source - 20 port=8080 번호 바꾸기 - 63 port 바꾼것과 똑같이 바꾸기
7) Window - Web Browser - 4 Chome
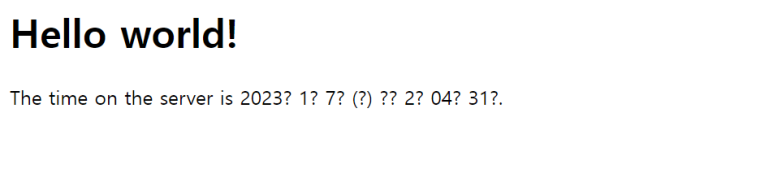
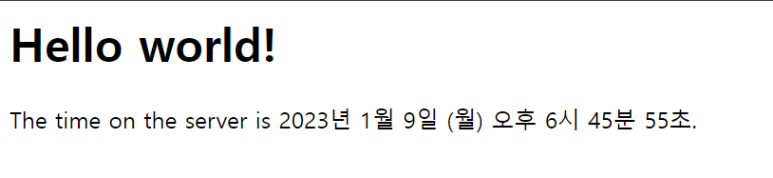
8) project선택 - run - run on server - 크롬으로 Hello world! 가 뜨는지 확인

9) home.jsp에 <%@ page contentType="text/html; charset=UTF-8"%> 추가해주면 한글이 깨지지않고 출력된다.
1) 18c or 21c 선택해서 다운받기
2) cmd
sqlplus
C:\app\사용자명\product\21c\oradata\XE\만들명.dbf size 200M;
18c = C:\app\사용자명\product\18.0.0\oradata\XE\만들명.dbf size 200M;
테이블 스페이스가 생성되었습니다
alter session set"_oracle_script"=true;
create user 계정명
identified by 비밀번호생성
default tablespace 위에서 생성한 테이블스페이스명
quota UNLIMITED ON 테이블스페이스 제한량 해제
grant connect, resource to 계정명;
conn 계정명/비밀번호
show user;
6) sqldeveloper다운로드
https://www.oracle.com/database/sqldeveloper/technologies/download/
생성한 계정명과 비밀번호로 생성하기